Installation
To install WPReturns, activate WooCommerce and add the free WPReturns plugin from Plugins > Add New. Pro is a separate add-on that needs the free plugin and is uploaded as a zip. On activation, WPReturns creates a returns portal page and a withdrawal page and opens the setup wizard.
Available in: Free and Pro
Requirements
Section titled “Requirements”| Requirement | Minimum | Tested up to |
|---|---|---|
| WordPress | 6.5 | 7.1 |
| PHP | 7.4 | |
| WooCommerce | 9.0 | 11.2 |
WPReturns supports HPOS (custom order tables) and the legacy order storage. It works with the classic checkout and the block checkout.
Install the free plugin
Section titled “Install the free plugin”- Install and activate WooCommerce.
- Go to Plugins > Add New and search for “WPReturns”.
- Click Install Now and then Activate.
- The setup wizard opens. Answer its questions or skip it.
You can also download the free plugin and upload wpreturns.zip under Plugins > Add New > Upload Plugin. WordPress updates it from wordpress.org either way.
Install Pro
Section titled “Install Pro”Pro needs the free plugin. It adds its features to the same screens and keeps the same data.
-
Download the Pro zip you received with your purchase.
-
Go to Plugins > Add New > Upload Plugin and upload the zip.
-
Activate WPReturns Pro.

-
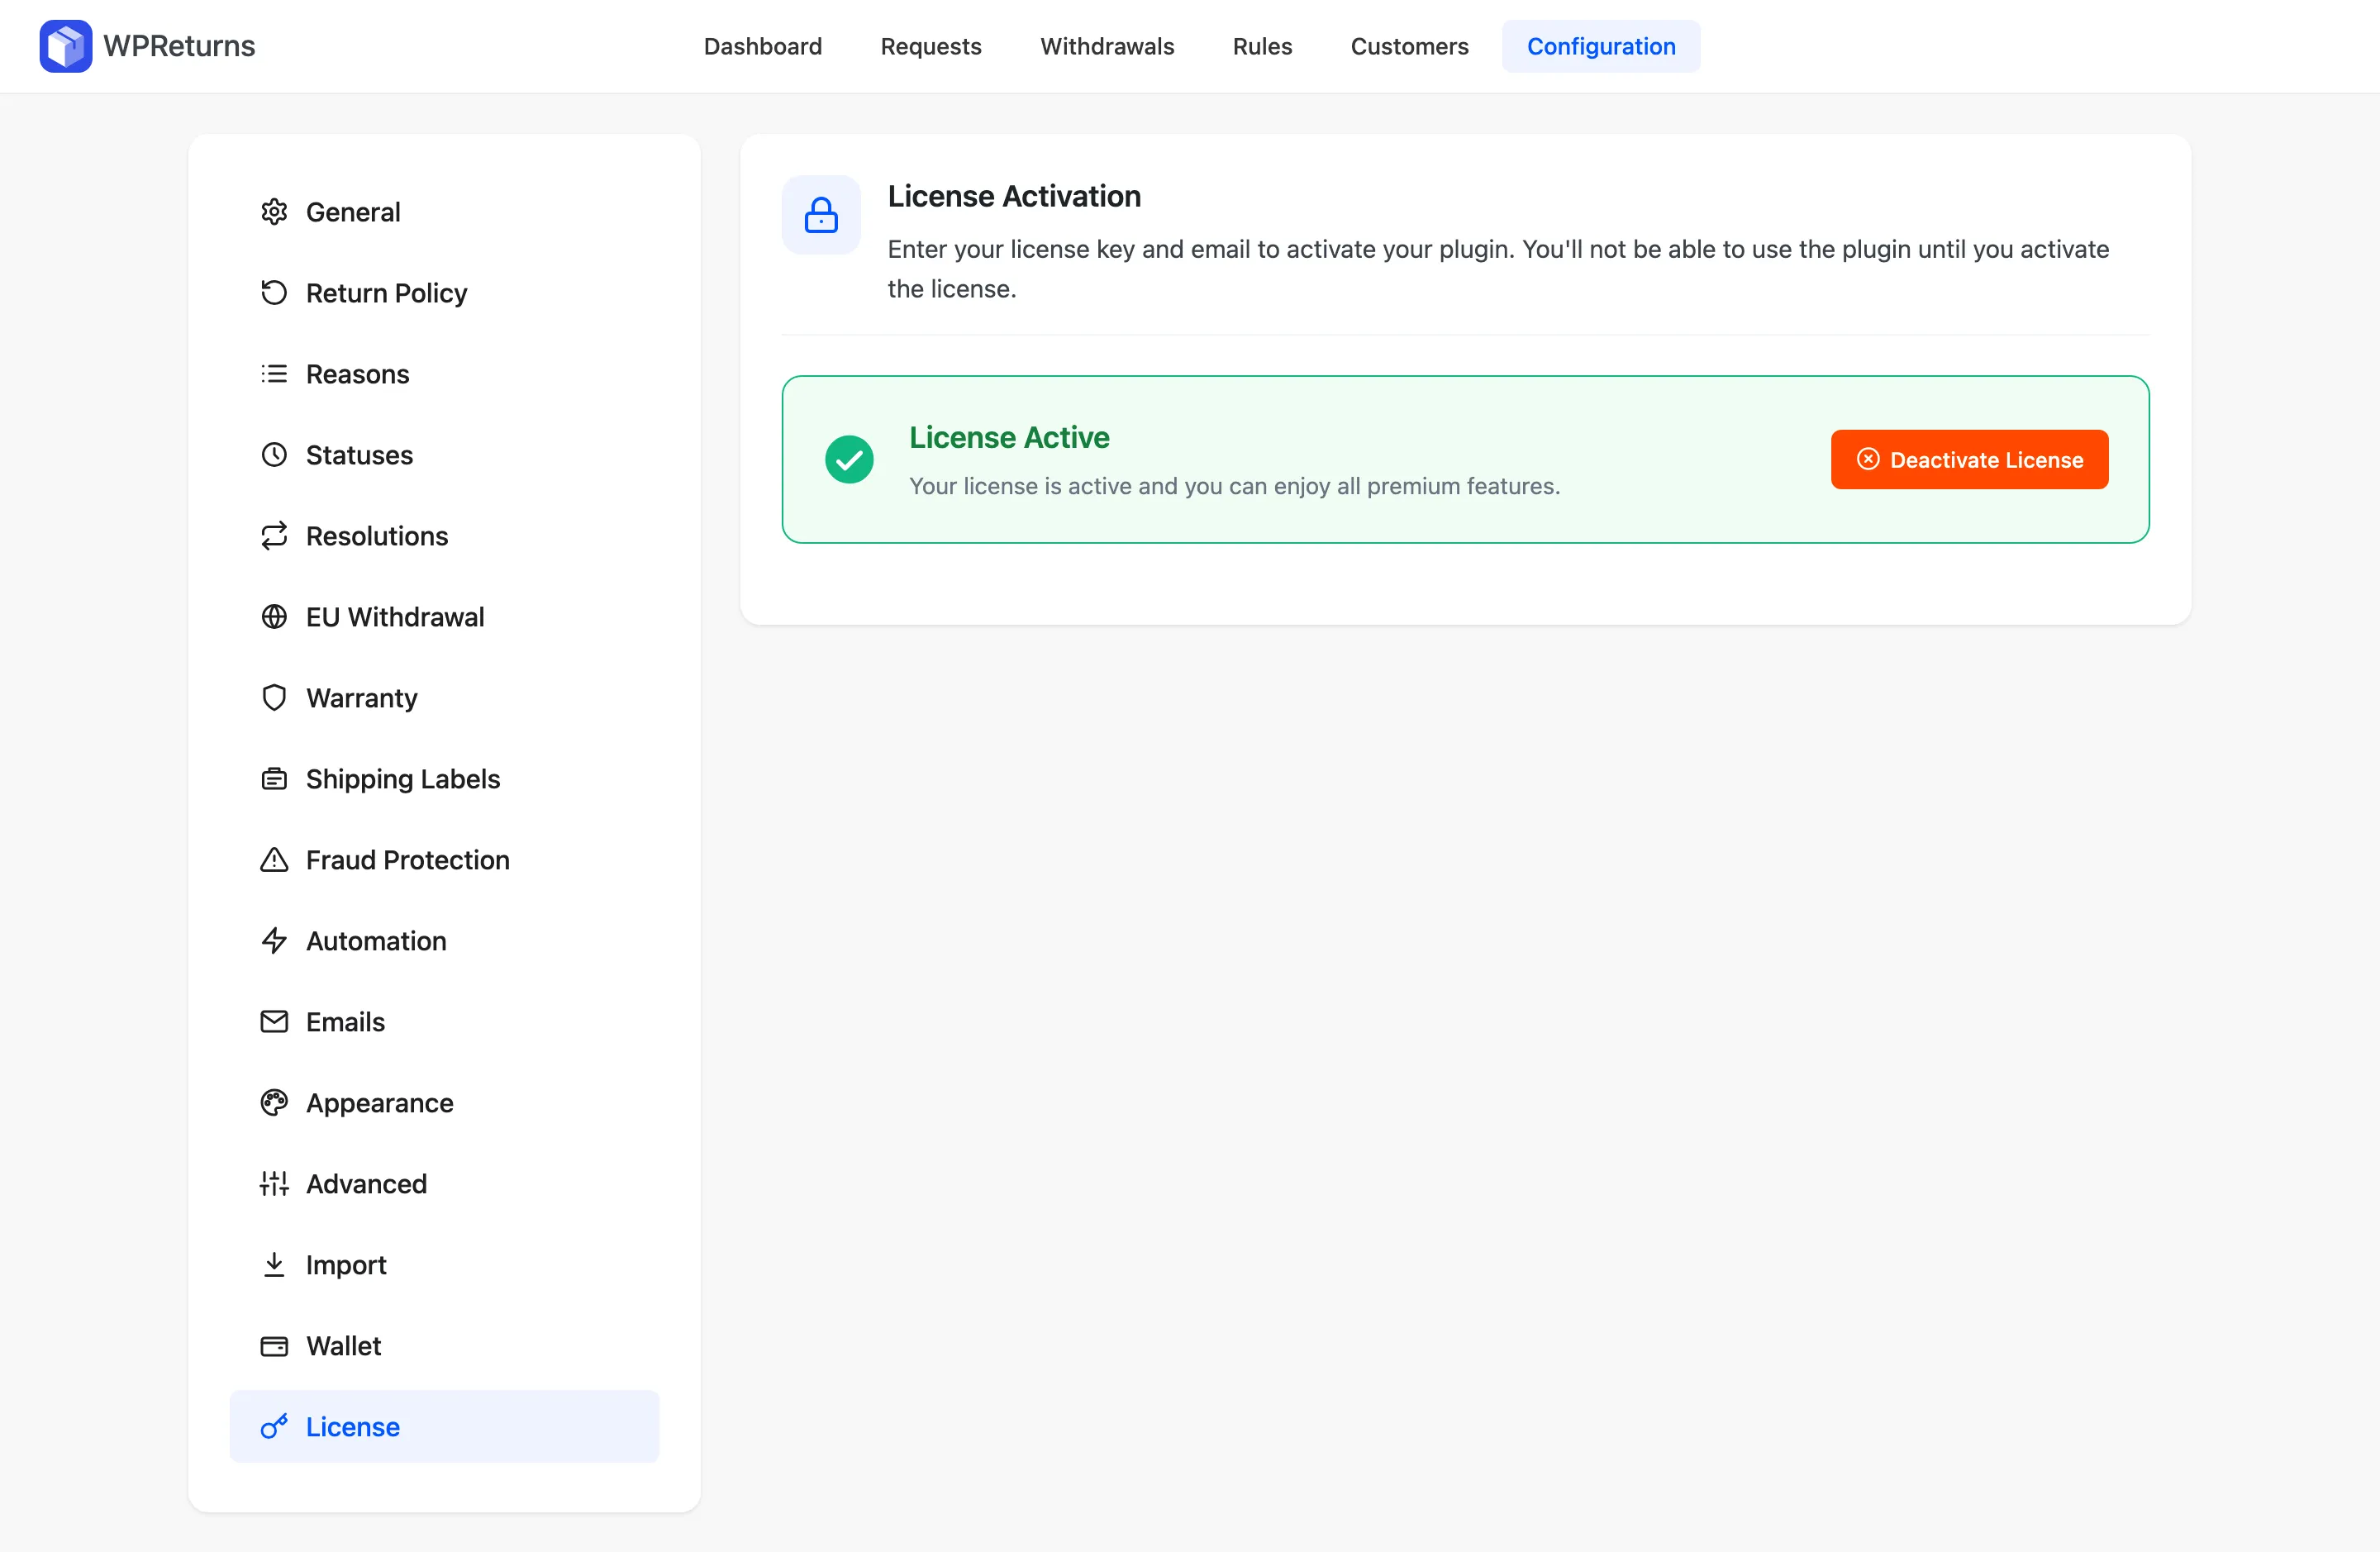
Open DevDiggers Plugins > WPReturns > Configuration > License. Enter your license key and email and activate it.
When the key works, the tab shows License Active. Deactivate License frees the key for another site.
Pro runs only while the license is active. When it expires or is canceled Pro stops until you renew, and no data is deleted. To keep the free features running meanwhile, deactivate Pro.
If the free plugin is missing, Pro tries to download and activate it from wordpress.org for you. If that fails, a notice says so. Then download the free plugin and install it by hand.
What activation creates
Section titled “What activation creates”| Item | Details |
|---|---|
| Guest returns portal page | A page with the slug returns that holds [ddwcwr_returns_portal]. |
| Withdrawal page | A page titled “Withdraw from contract” with the slug withdrawal. It holds [ddwcwr_withdrawal_form]. |
| Database tables | Requests, request items and messages. Pro adds a rules table. |
| My Account endpoint | A Returns page in My Account at /my-account/returns/. |
| Capabilities (Pro) | Manage requests, process refunds, manage settings and view reports. Administrators and shop managers get all four. |
If a published page already holds the shortcode, WPReturns reuses it. It does not create a duplicate.
Add both pages to your menus or footer. The EU Withdrawal tab can also add a footer link for you.
Where to find the plugin
Section titled “Where to find the plugin”The admin menu is DevDiggers Plugins > WPReturns. Each screen has the same tab bar at the top. It has these screens:
- Dashboard
- Requests
- Withdrawals
- Rules (Pro)
- Customers (Pro)
- Configuration
The Plugins screen links to the Dashboard, Configuration and Setup Wizard.
Switching between Free and Pro
Section titled “Switching between Free and Pro”The free plugin and Pro share the same tables, options and meta. If you deactivate Pro, your requests, messages, photos and withdrawals stay. Pro features come back when you activate Pro again.